
Buying guide
Best aquarium light for a high-tech planted tank
High-tech plants need enough usable light across the whole scape, plus dimming and scheduling so CO2 and nutrients can keep pace.
Quick comparison
| Product | Best for | Main drawback |
|---|---|---|
| Chihiros WRGB II Slim | Colorful planted scapes | Controller dependence |
| Fluval Plant 3.0 | App scheduling | Needs careful intensity |
| Finnex Planted+ 24/7 | Programmable routines | Presets can be bright |
| NICREW RGB+W 24/7 LED Aquarium Light | Value color control | App features vary |
| Current USA Satellite Plus Pro | Adjustable spread | Add-on controller |
| AQUANEAT Full Spectrum LED Aquarium Light | Budget supplemental light | Less output control |
| Hygger Advanced LED | Built-in timing | Verify coverage |
No product here was measured in our lab. High output is only useful when CO2, nutrients, and circulation are steady.
Our picks
Chihiros WRGB II Slim
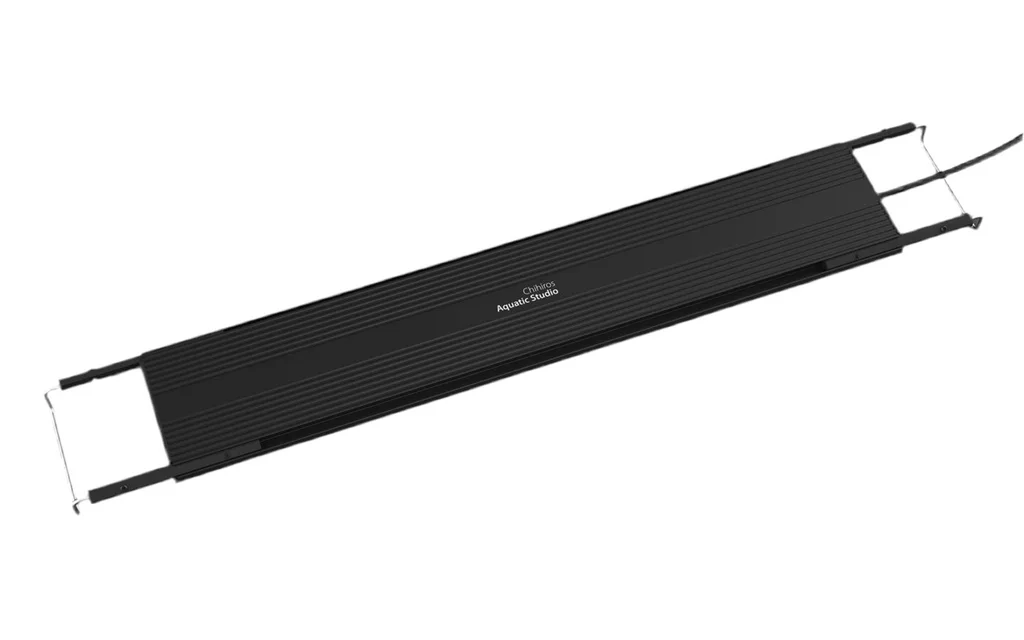 It is a strong fit for demanding stems and a color-focused aquascape. Start below maximum and raise output only when plant growth and CO2 are stable. Pros: color; even spread. Cons: controller setup.
Fluval Plant 3.0
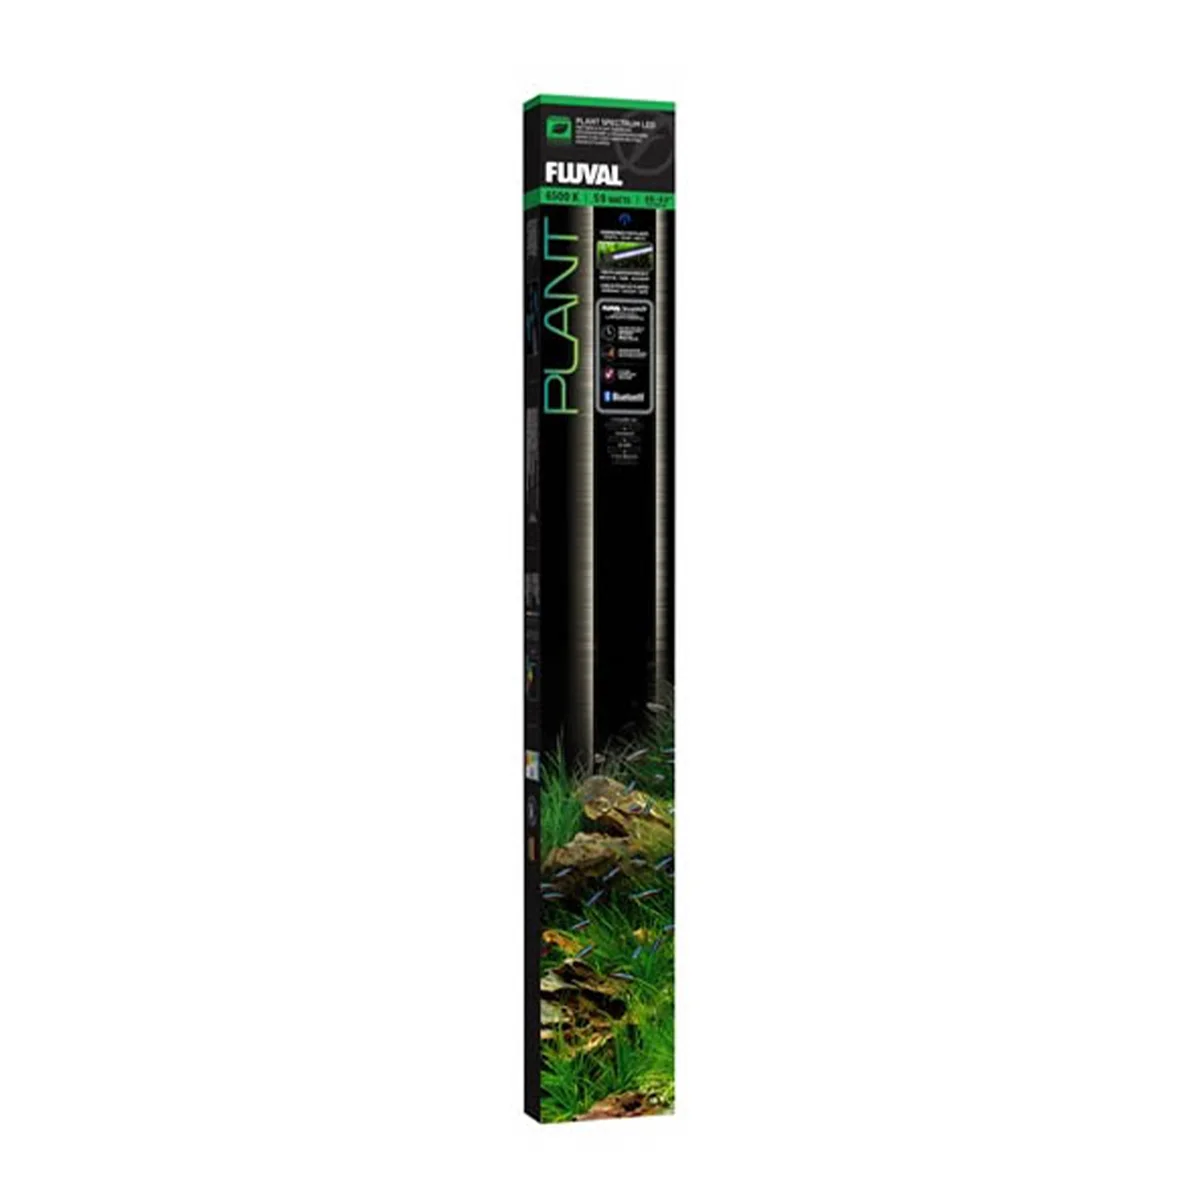 App scheduling supports gradual ramping, useful when a high-tech tank needs a predictable day. Pros: schedule; adjustable channels. Cons: easy to over-light.
Finnex Planted+ 24/7
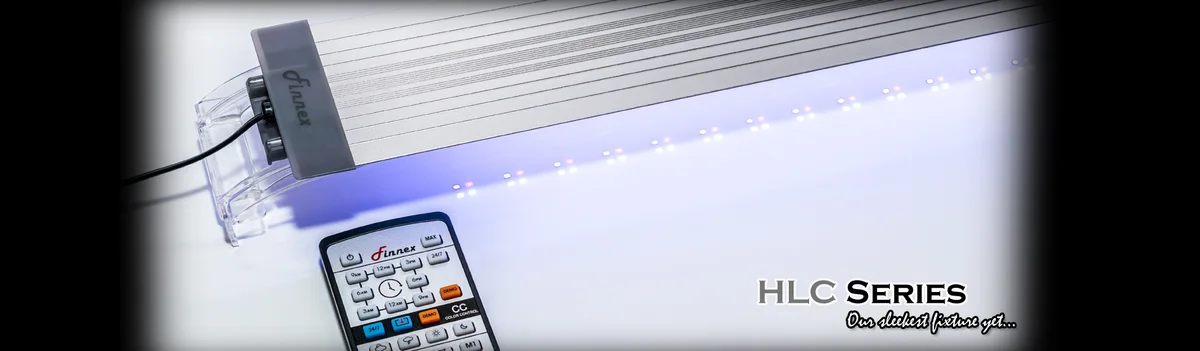 Use its programming as a starting point, not a guarantee that every preset suits CO2 injection. Pros: routine control; accessible format. Cons: presets need tuning.
NICREW RGB+W 24/7 LED Aquarium Light
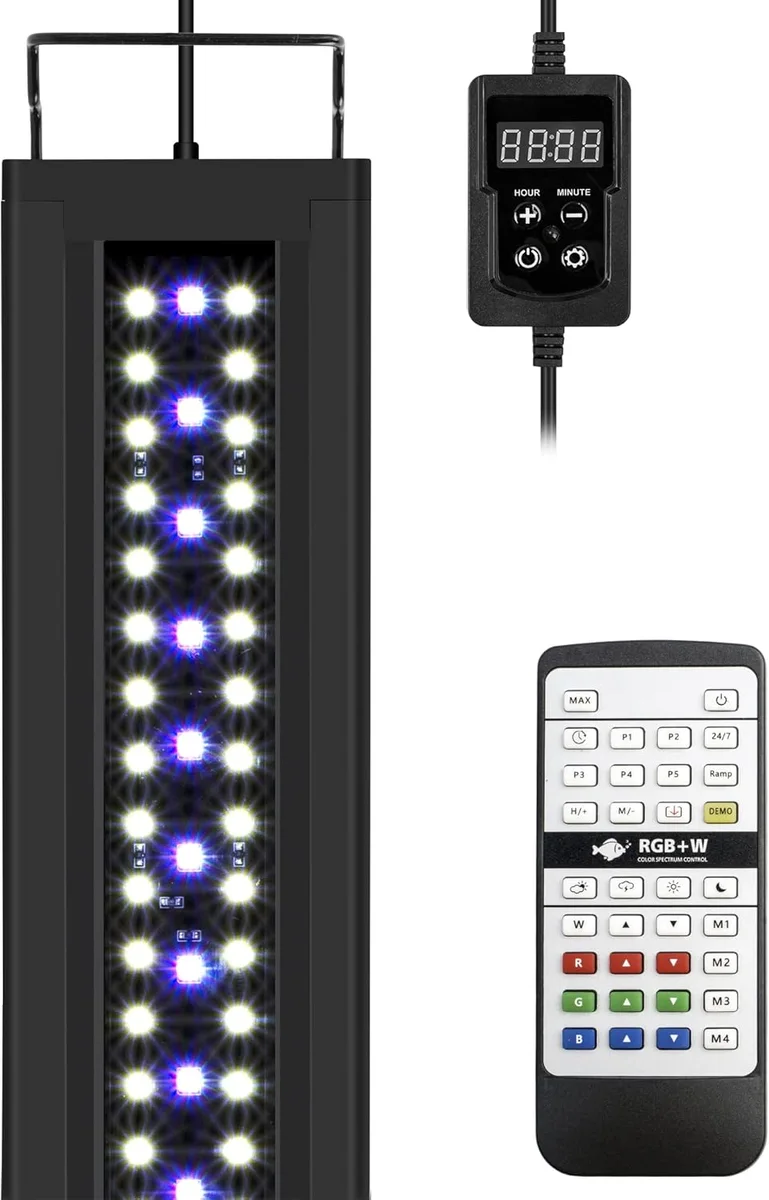 This is a value-oriented route to adjustable color. Pros: color control; value. Cons: confirm app support.
Current USA Satellite Plus Pro
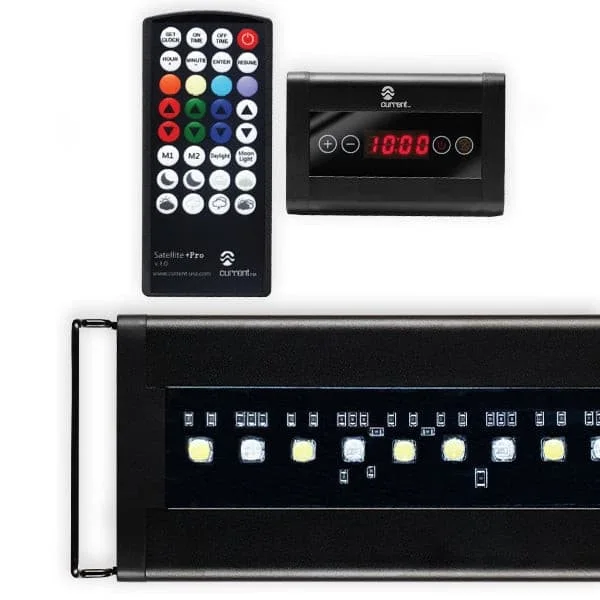 Its adjustable output helps balance growth against algae. Pros: dimming; broad use. Cons: controller cost.
AQUANEAT Full Spectrum LED Aquarium Light
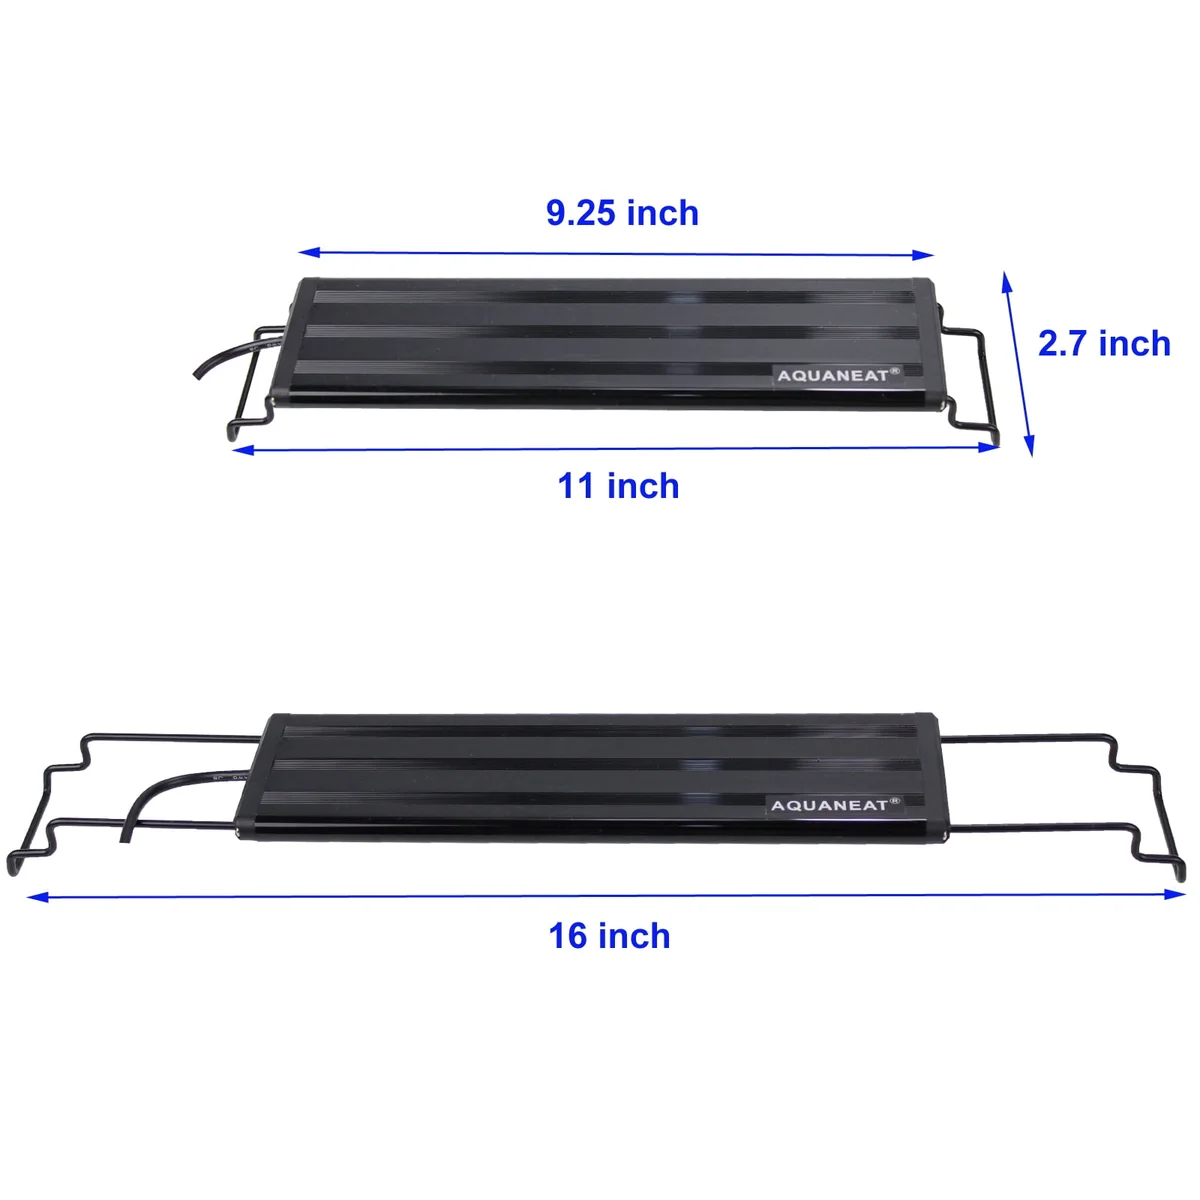 Treat it as a budget or supplemental fixture rather than assuming it can drive a deep carpet. Pros: low cost. Cons: limited control.
Hygger Advanced LED
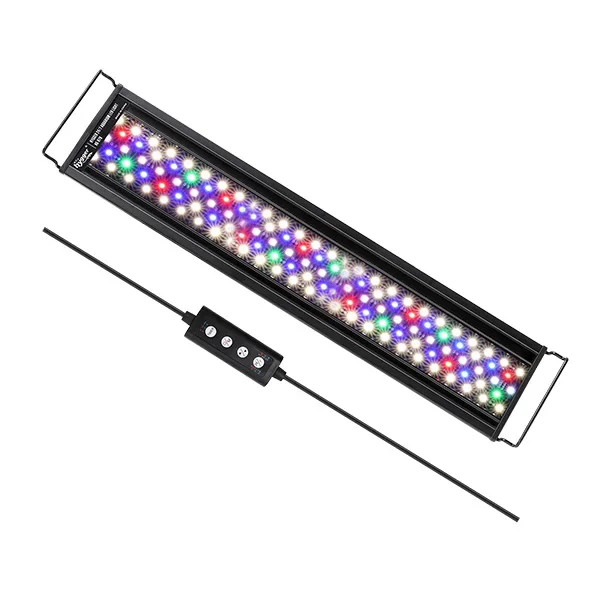 Built-in timing is practical, though you should confirm the fixture spans the tank and reaches the substrate. Pros: scheduling; value. Cons: coverage varies.
Buying criteria
Prioritize full-tank coverage, dimming, and a repeatable schedule. High light exposes weak CO2 distribution quickly, so circulation and diffuser placement matter. Begin with a shorter photoperiod and modest intensity. Increase one variable at a time while watching algae, pearling, and new growth. Suspend or mount the light at a height that avoids hardscape shadows, and clean the lens regularly.
FAQs
Does high light require CO2?
High light raises demand for carbon and nutrients. A non-CO2 tank can work at restrained intensity, but maximum output often creates an algae problem.
Is WRGB automatically brighter?
No. Color channels and measured intensity are separate questions. Check the maker’s current information for the exact size.
How long should the light run?
Start conservatively and keep the schedule consistent. More hours is not a substitute for balanced growth conditions.
Should I buy two fixtures?
Only when one cannot cover the tank evenly. Measure the scape and avoid bright bands with dark edges.
Recommendation
Chihiros WRGB II Slim is the best fit for a serious color-focused scape. Fluval Plant 3.0 is easier to schedule for an aquarist who wants app control.
Sources and methodology
We reviewed Chihiros, Fluval, Finnex, and Current USA product information. We compared control, coverage, mounting, and fit for CO2-injected layouts. No hands-on or PAR testing was performed.
Related guides
- Best aquarium light for low-light plants
- Best aquarium light for a planted tank
- Best aquarium CO2 system for beginners
Plan for viewing comfort, too. A high-tech light can reflect off the front glass and make a carefully arranged scape hard to see. Raising the fixture slightly, adding a background, or reducing the white channel can improve the view without changing the plants’ routine. Keep a note of original settings so experiments remain reversible.
This makes troubleshooting far less guesswork.
Setting up a high-tech light
Install the fixture only after measuring the tank, rim, lid, and hardscape height. A light that spans the glass but leaves the corners dark can produce tall stems and a bare foreground. Conversely, a narrow tank with a very strong fixture may need to be raised or dimmed. Diffuse the output with plant mass and hardscape rather than assuming the brightest setting is the target.
CO2 timing matters. Many aquarists start circulation and carbon injection before the lights come on so the plants have usable carbon at the beginning of the photoperiod. The exact schedule depends on the equipment and livestock, but consistency matters more than a dramatic sunrise effect. Use a drop checker or other established monitoring method appropriate to the aquarium, and make changes slowly when fish are present.
Nutrients and maintenance must keep up with increased light. Trim fast growers before they shade slower plants, remove dead leaves, and clean algae from the glass so you can judge new growth. If hair algae appears, resist adding more light to improve plant color. Reduce intensity or duration, confirm circulation reaches the corners, and check whether the diffuser is delivering carbon evenly. A powerful fixture exposes uneven distribution quickly.
Choose software you can live with. App control is convenient, but a reliable schedule that survives a phone change or network issue is more valuable than a long list of effects. Save settings in writing. If the controller fails, use a simple timer and conservative intensity until the replacement arrives.
Check mounting hardware again after the first week, especially when humidity reaches the brackets or the fixture hangs above an open tank.